To create a Loopio Project using the Microsoft Dynamics Integration:
- Navigate to an Opportunity in Microsoft Dynamics
- Select the Loopio Project(s) tab

- Fill in the Project details, and click Create

Note: The Project Owner is a Loopio User who is responsible for managing and overseeing the Project. For more information on Project Owners read on at: What Is the Difference Between A Project Owner, Project Creator, and Project Admin?
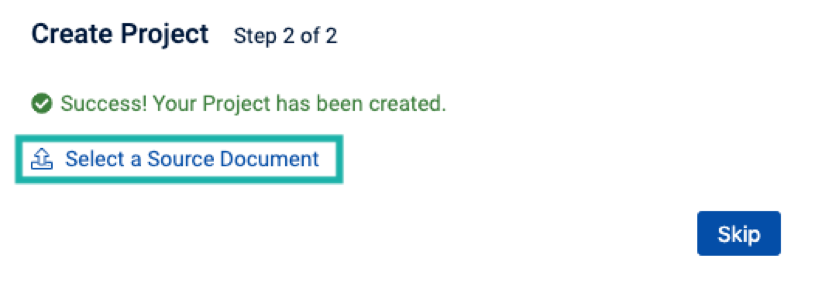
- Your Project has now been created in Loopio. You can upload a Source Document by clicking Select a Source Document, or click Skip to go back to the Dynamics Opportunity without uploading a Source Document
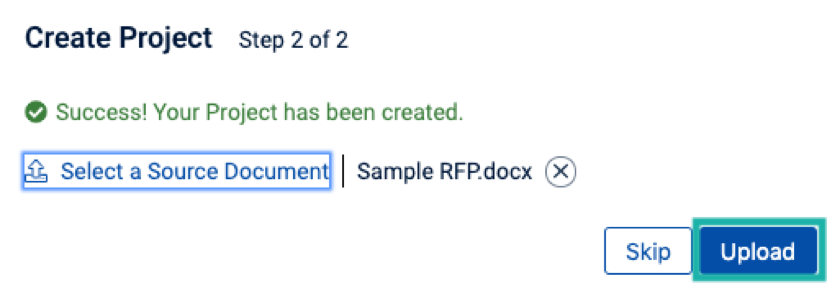
- Select your file and click Open
- Click Upload
- Monitor the Project from Microsoft Dynamics, or click (View in Loopio) to navigate to the Project’s page in Loopio. Additional Projects can be created by clicking + Create a Project
Tip: All Dynamics Users with access to the Opportunity will be able to view the Project Progress in Dynamics, but only those with the permissions required to access that Project within Loopio will be able to use the (View in Loopio) link to view the Project directly in Loopio.
- Additional Projects can be created by selecting + Create a Project